
Overview Who Needs This? Excerpts Order Book Pictures Chapters
Answers Reviews Destinations Free Stuff More Contact Us
This page I wrote for my old rv website RVforSaleGuide.com before developing the Vanabode as the best travel vehicle for cheap easy long term road trips. People still like big rv's despite the much greater cost and trouble to operate, so here's what I know about them.
Repair Trailer Roof page 12
RV trailer repair project travel trailer, rebuild and fix roof
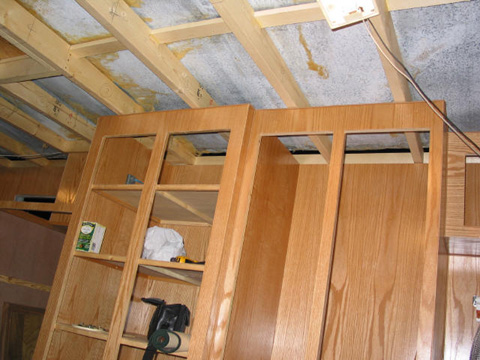
Roof framing from inside: The old galvanized roof covers the framing - you can see the detail better.
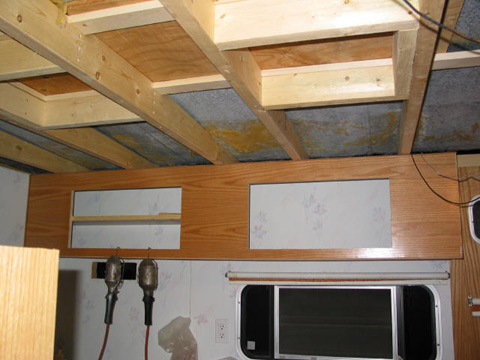
More roof framing: Another shot taken towards the kitchen.
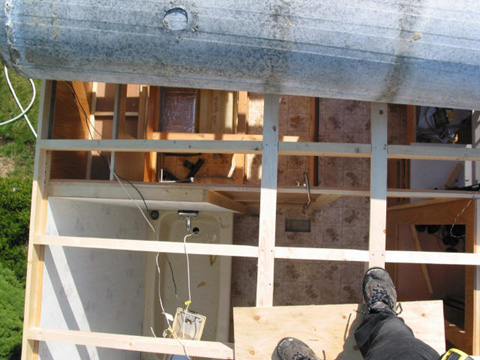
Down from the top: I took lots of pics down from the top, printed them and marked all the measurements of where everything is on the paper for fastening purposes.
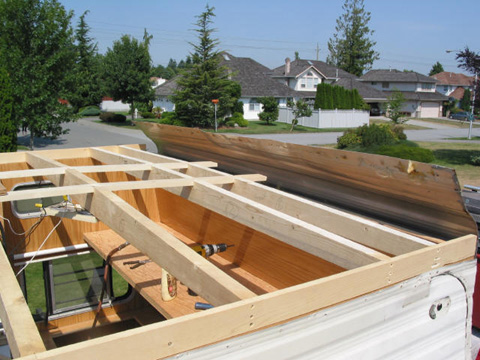
Design flaw correction: I had to gradually slope the roof down to both ends in order to allow the new one piece aluminum roof to curve over the ends without puckering. I Initially had the rafters all the same.
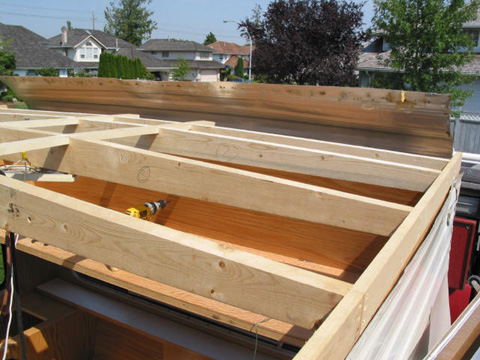
Design flaw correction: Same thing on a different angle. Note how I reduced the pitch of the rafters towards the end of the trailer.
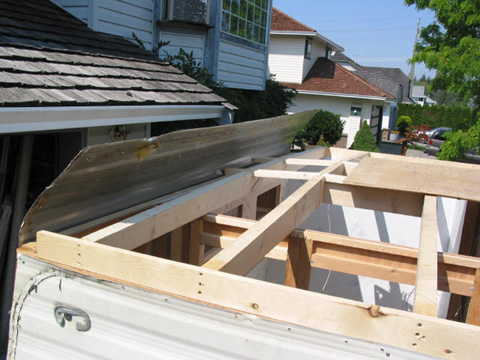
Design flaw correction: Same correction as the front. I was only able to do one rafter here due to the vent location.
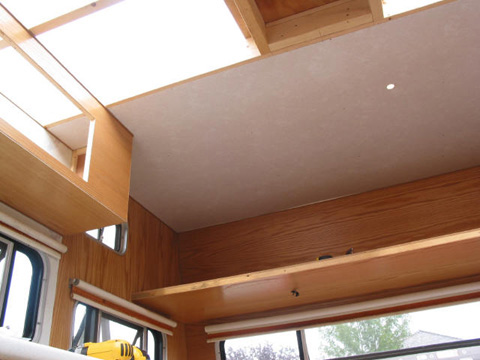
First ceiling panel: Its been a long time coming but the first ceiling panel is finally in.
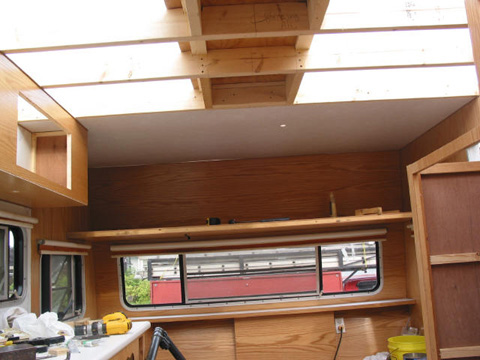
First ceiling panel: Same thing as viewed a little further back. RV rubber roof can essentially be leak-proof for about 30 years.
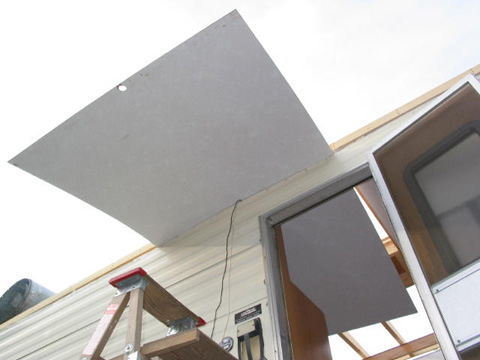
Installing second panel: Here's how I get them in - lift the roof up onto blocks and slide the panel in between the wall and the roof. Cutouts for wires etc. were calculated and done first.
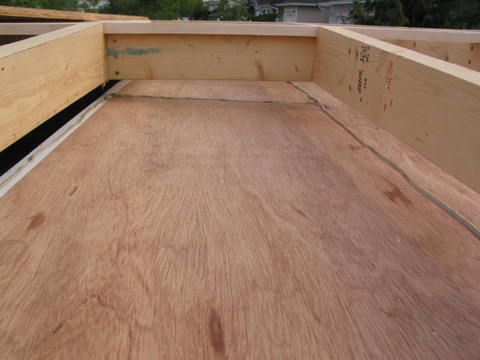
Gluing the panels up: I used PL Premium panel adhesive to hold the panels in place. From the inside I used decorative brass colored nails in a grid pattern. The joints are stapled as they will be covered.
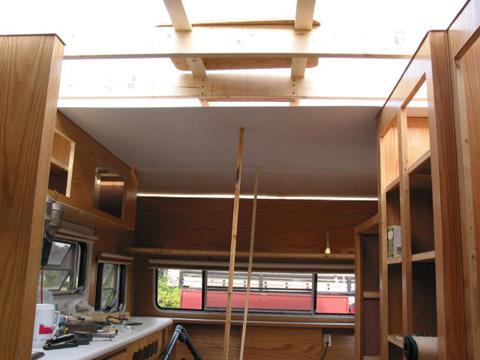
Holding the panel up: I used a couple pieces of 1X2 as temporary props while I positioned and fastened the panel.
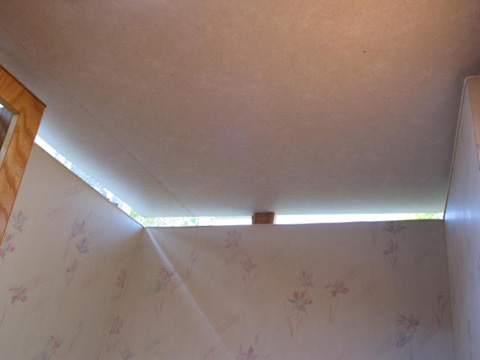
Bathroom ceiling: You can see the gap while the roof is still up on blocks on top of the walls.
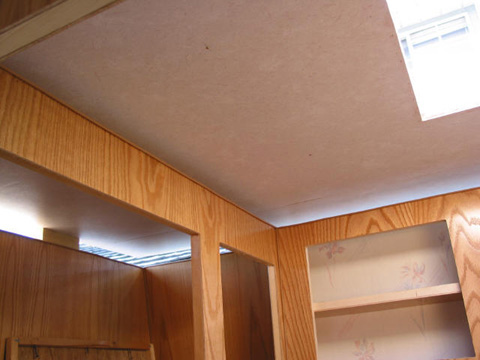
Bedroom ceiling: This is above the main bed area.
Click to go to main page of RV Trailer Repair or continue to page 13
All work, text, and photographs courtesy of Bob Hanover
Rebuild Project - 1981 Citation 25' Travel Trailer


Home
Contact Us Copyright
© 2007-2016 Free
Guide They Hate Me
Privacy
Policy Terms
and Conditions Media
Press Affiliate