
Overview Who Needs This? Excerpts Order Book Pictures Chapters
Answers Reviews Destinations Free Stuff More Contact Us
This page I wrote for my old rv website RVforSaleGuide.com before developing the Vanabode as the best travel vehicle for cheap easy long term road trips. People still like big rv's despite the much greater cost and trouble to operate, so here's what I know about them.
RV Trailer Floor Damage page 4
RV trailer repair Rebuild project travel trailer, floor water damage, roof leaks
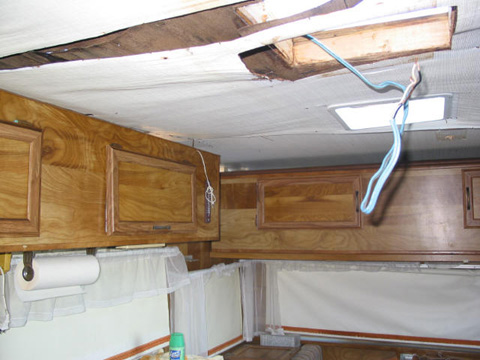
Sagging ceiling: Another view of the ceiling panels ready to fall down.
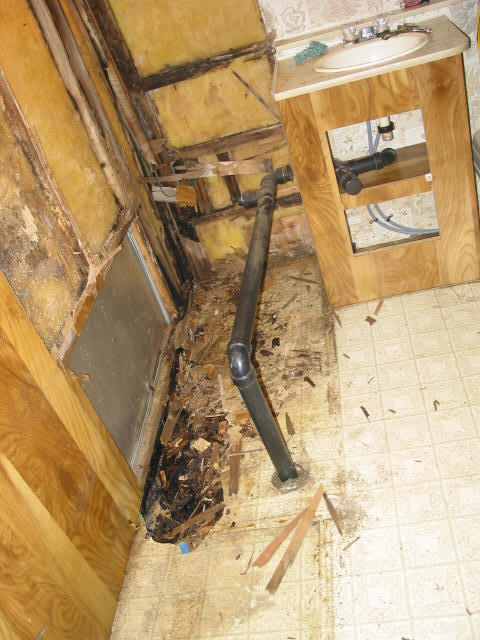
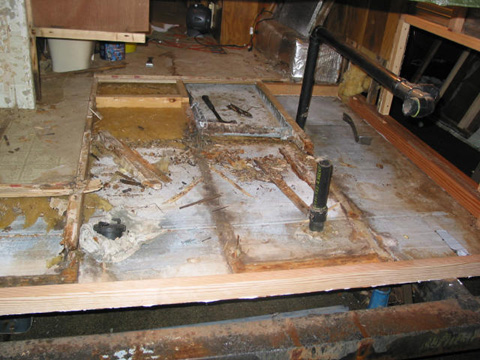
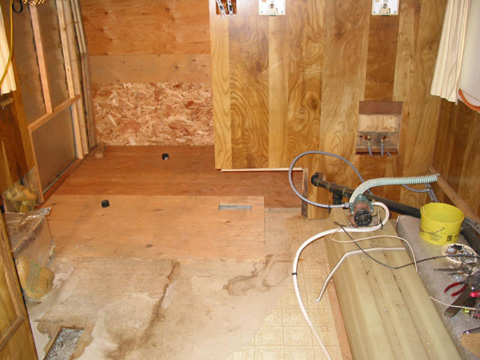
Storage area floor: Did not look too bad until I started pulling up the plywood.
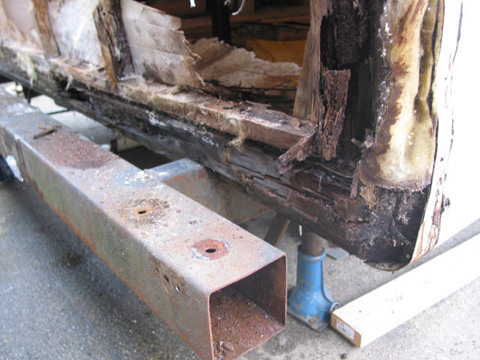
Back corner: After stripping the corner out, the major structural damage is evident everywhere. Note the blackened wood compressing from the rot.
Back corner from side: After pulling off the siding, I found this.
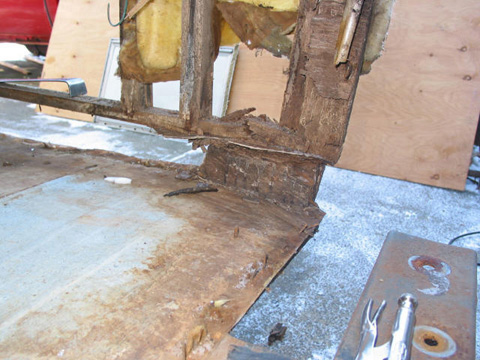
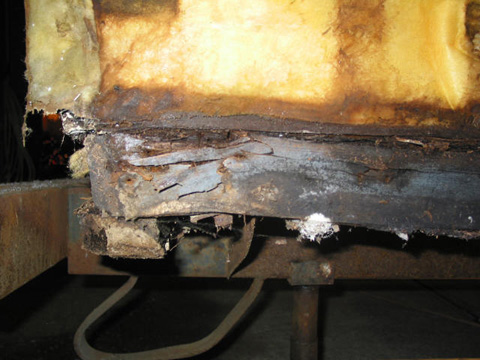
Same back corner: This corner was the worst. After removing and cleaning up the rotten wood, there is nothing but the bottom skin left. I left that small piece of corner there to hold up the wall for now.

Overview of corner: Most of the bad wood is stripped out now. I had to use a broom and dustpan more than a hammer & pry bar It was rotted to nothing.
Replacement starts: The back and one side up to the wheel well outside framework - replaced with clear fir for strength.
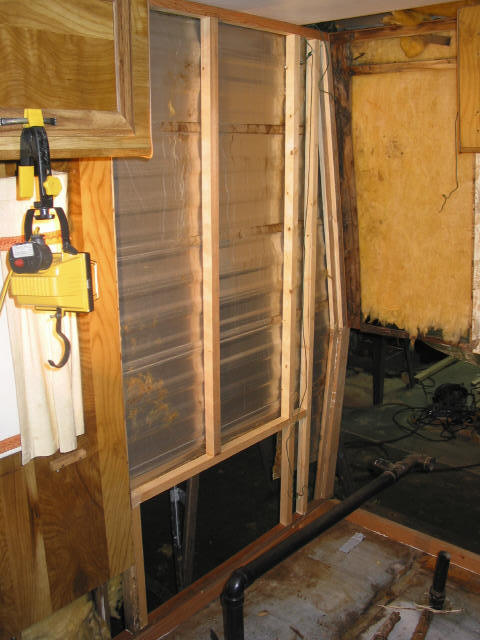
Corner of wall: I had to rebuild the entire wall and storage bay door area for about 4 feet from the back including the top by the roof.
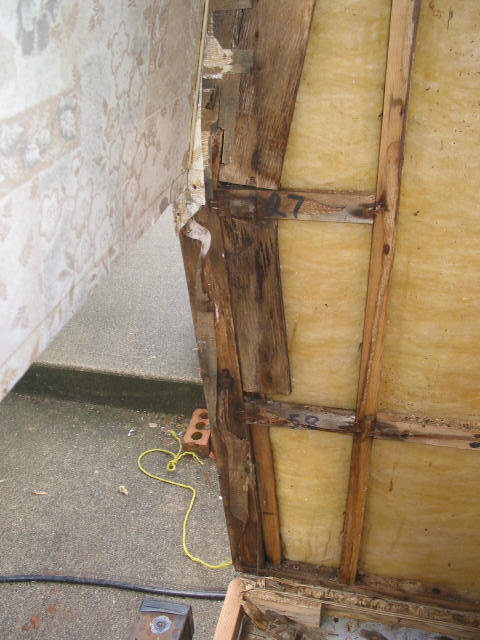
Other back corner: Looks like this one has to be rebuilt, too.
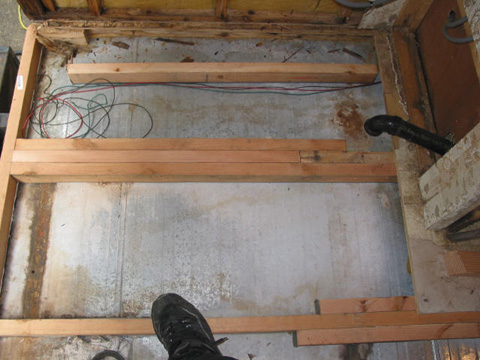
Bathroom joists: Most of the joists are now replaced. It was necessary to butt-join them, so I had to add splice pieces to each side. Yes, that's my size 12 in the picture!
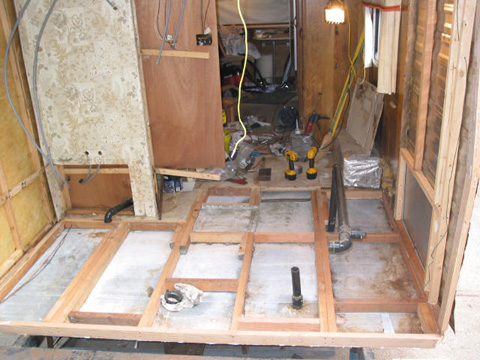
Bathroom floor framework: All the structural members are now replaced. The bathroom floor is solid again. Note the heat ducts have been re-installed as well.
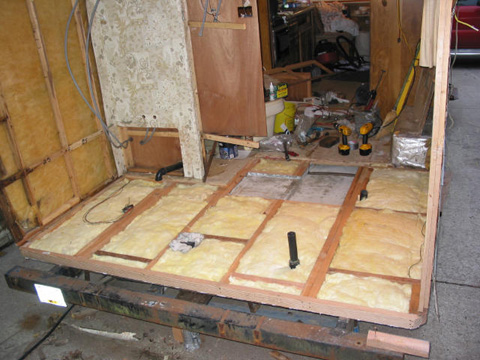
Insulated bathroom floor: If I'm going to add insulation, may as well do it right and fill the joist cavity. Ready for plywood now.
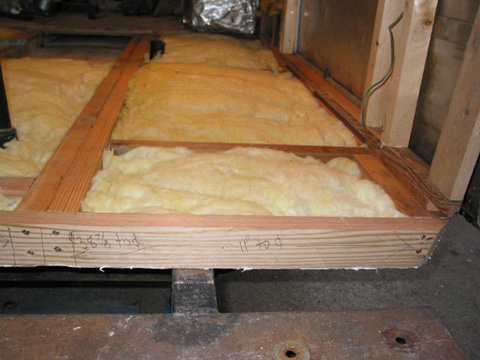
Marking the corners: I wrote all the measurements on the outside so I would know where to run the screws.
Floor sheeted: Finally! New plywood down on the floor. Sure is a lot more solid now.
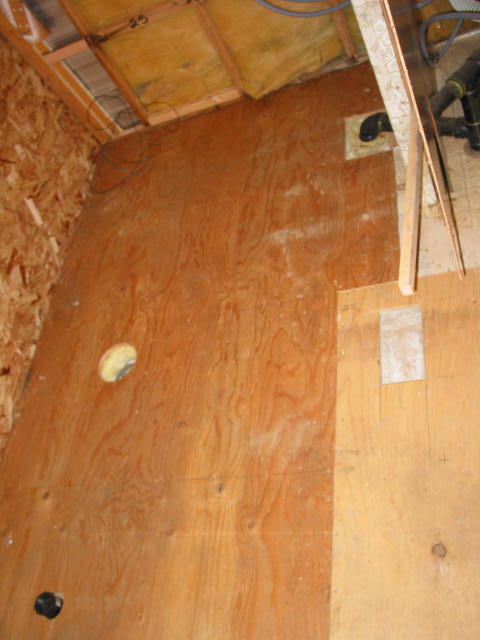
Floor sheeted: Different shot of the floor re-sheeted.
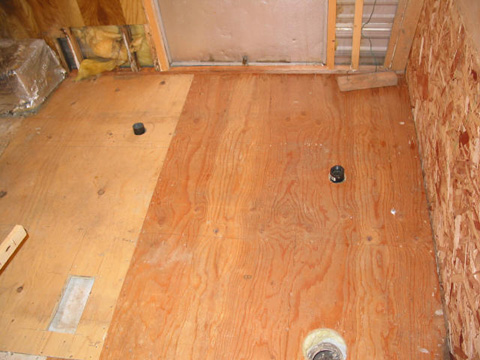
Floor sheeted: And another view.
Click to go to main RV Trailer Repair or RV Trailer Floor Damage page 5
All work, text, and photographs courtesy of Bob Hanover
Rebuild Project - 1981 Citation 25' Travel Trailer


Home
Contact Us Copyright
© 2007-2016 Free
Guide They Hate Me
Privacy
Policy Terms
and Conditions Media
Press Affiliate